Town tram layout: Difference between revisions
From The Brighton Toy and Model Index
Jump to navigationJump to search
(wikilink "the Museum") |
(+hyphen) |
||
| Line 1: | Line 1: | ||
{{Display|Arch Four|}} | {{Display|Arch Four|}} | ||
'''The town tram layout''' is at the back of [[the Museum]], housed in the left side of the [[00 gauge layout]] display. | '''The town tram layout''' is at the back of [[the Museum]], housed in the left side of the [[00-gauge layout]] display. | ||
It contains a number of electrically powered trams, a tram station, and a town scene. | It contains a number of electrically powered trams, a tram station, and a town scene. | ||
Revision as of 14:13, 13 June 2011
| Display Area |
|---|
|
|
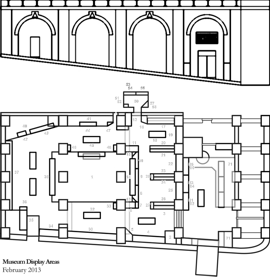
| 0 - - Arch |
| –– 01 02 03 04 05 06 07 08 09
10 11 12 13 14 15 16 17 18 19 20 21 22 23 24 25 26 27 28 29 30 31 32 33 34 35 36 37 38 39 40 41 42 43 44 45 46 47 48 49 50 51 52 53 54 55 –– 57 58 –– –– 61 62 63 64 65 66 67 –– –– –– 71 72 73 74 –– 76 77 78 79 80 81 82 83 84 85 86 –– –– –– |
The town tram layout is at the back of the Museum, housed in the left side of the 00-gauge layout display.
It contains a number of electrically powered trams, a tram station, and a town scene.
The layout isn't run due to the difficulty of operating it behind glass in a comparatively inaccessable area (the model trams are quite tall and are prone to tipping over).


